
By blitzgone in CircuitsArduino

I’ve done light graffiti in the past and always find the results and process so much fun. I wanted to take it a step further and work on my maker skill to build a light graffiti skateboard. Here is how I did it.
Supplies:
- An old skateboard that you aren’t afraid to drill holes in
- 4mm zip ties
- Neopixel led strip
- Arduino nano
- 3 pin led connector
- 2 pin power connectors
- 7.4 Lipo battery, the smaller the better
- Camera capable of long exposures, you can use a smart phone on manual
- Tripod
- Flash – I used a softbox, but you can also use a bare flash off camera
Add TipAsk QuestionCommentDownload
Teacher Notes
Teachers! Did you use this instructable in your classroom?
Add a Teacher Note to share how you incorporated it into your lesson.Add Teacher Note
Step 1: Prep the Board


I drilled holes every 6-9 inches along the board, this would be to hold the LED’s in place with the zipties. I tried to keep them as close to the edge as possible.Add TipAsk QuestionCommentDownload
Step 2: Assemble Arduino


I used an Arduino nano to power to project in order to keep the weight down. I 3D printed this case from thingverse. I connected a button and switch so I could turn it on and off, and cycle different light affects. In the end I only really used the rainbow effect. For simplicity sake I could have simply plugged the battery and removed the switch and button.
I used a single 7.4 lipo battery. You can see the basic arduino sketch, this is the simple version with no button or switch for power. Keep in mind the diagrams are using a Arduino Uno, but a nano is needed.Add TipAsk QuestionCommentDownload
Step 3: Programming the Arduino
I decided to go with the fastLED Arduino library, but you can also use the NeoPixel library if you are more familiar with that.
There are two sketches attached one with the button that cycles several light effects and one with no button that uses the rainbow light pattern. Even though I had a had programmed several light patterns I used the rainbow pattern the most.
Here is an example on Tinkercad using the NeoPixel library:
https://www.tinkercad.com/things/7NkVtp6PWm0
Note: Tinkercad requires the Neopixels to take power from the from the Arduino, but in order to power a full 115 LED strip you’ll need to draw from power from the battery.
Note: You’ll need to change the LED count to match the amount of lights you have for your strand.
Attachments
- Simple_Skateboard_with_no_button.inoDownload
- Complicated with button – Skate_Lights_Fast_LED_button.inoDownload
Add TipAsk QuestionCommentDownload
Step 4: Full Assembly


I secured everything to the board with short screws, glued down the battery with hot glue gun, and connected all the components for a test.Add TipAsk QuestionCommentDownload
Step 5: Getting the Shoot

2 More Images
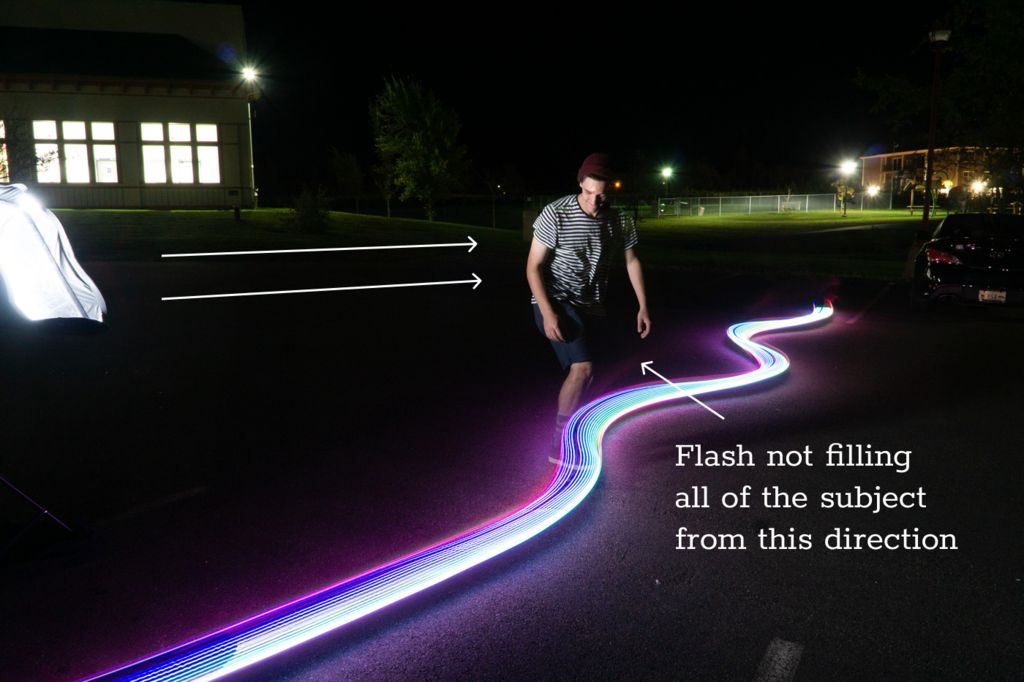
Put your camera on your tripod and set up your flash. Your camera will need to be on shutter priority. I triggered the flash manually with the flash “test” button when the subject was at the right spot.
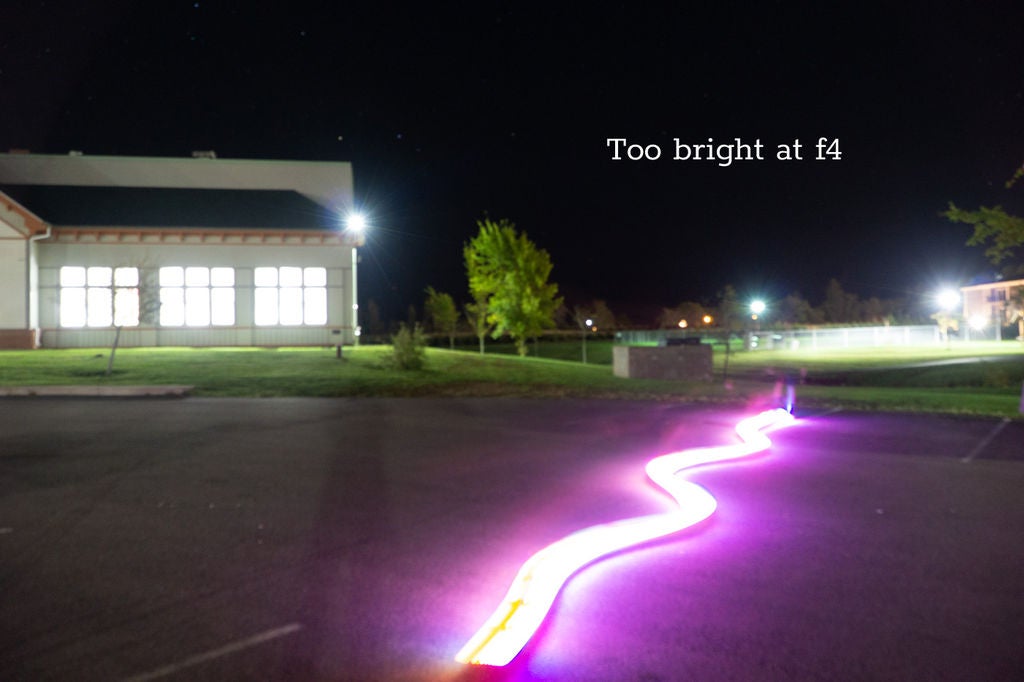
Depending on the ambient light in your surroundings you’ll have to change your ISO and f-stop. It is best to do this with a number of test shoots. In the end I used ISO 1600 and at f11 for most of my shoots. You set your shutter speed based on how long you want your light trails, I used 4 seconds.
It takes a lot of testing to get it all right!Add TipAsk QuestionCommentDownload
Step 6: Celebrate
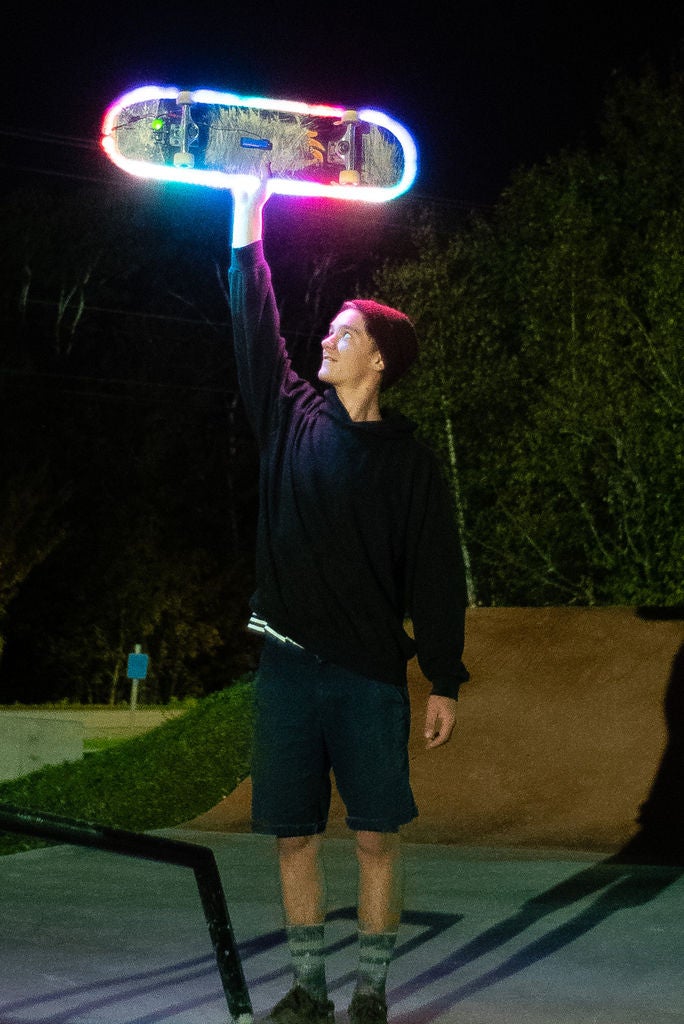
With a lot of hard work and lots of practice you can get the shoot.